
How To Fill DS-160 Form for USA VISA | Visa Application 2026
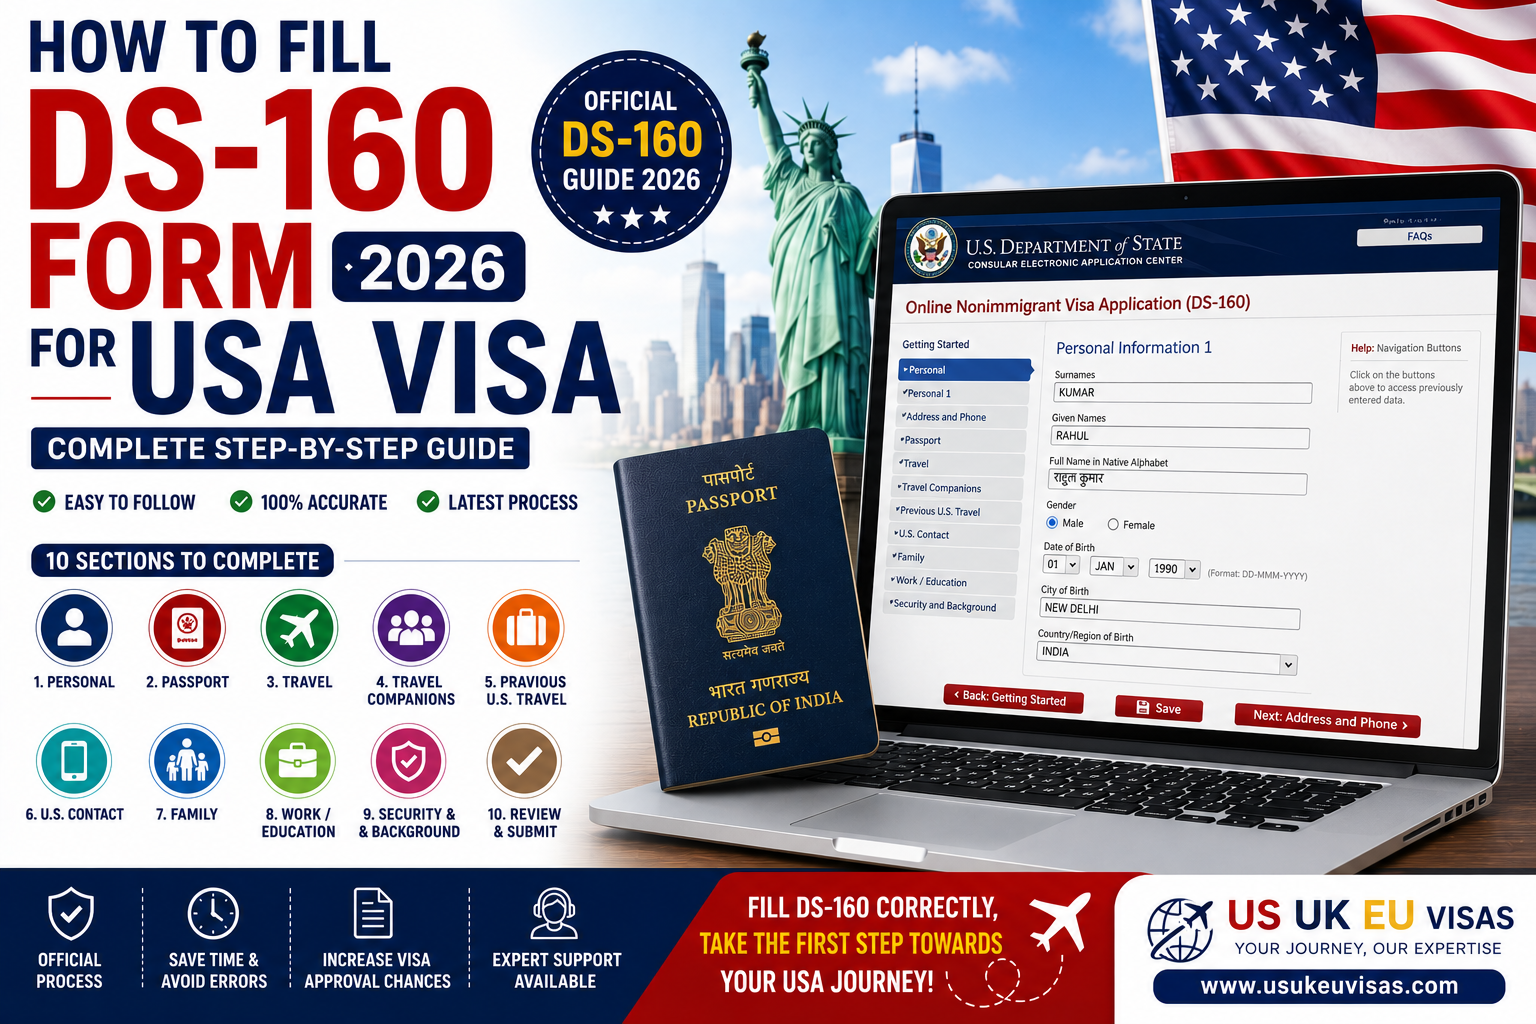
- How To Fill DS-160 Form for USA VISA | Visa Application 2026
-
Author: usukeuvisa
-
23 Jun 2026

How To Fill DS-160 Form for USA VISA | Visa Application 2026
Planning to visit the United States in 2026? Whether you’re traveling for tourism, business, education, or family visits, completing the DS-160 Form is one of the most important steps in your U.S. visa application process.
The DS-160 is the official online nonimmigrant visa application form required for most temporary U.S. visas, including visitor, student, and exchange visas. The form is completed electronically through the U.S. Department of State’s Consular Electronic Application Center (CEAC).
This step-by-step guide explains how to fill out the DS-160 form correctly in 2026 and avoid common mistakes that may delay your visa application.
What is the DS-160 Form?
The DS-160 (Online Nonimmigrant Visa Application) is the electronic application form used by individuals applying for temporary visas to the United States.
The form is required for visa categories such as:
- B1/B2 Tourist and Business Visa
- F-1 Student Visa
- J-1 Exchange Visitor Visa
- H, L, and other temporary work visas
- K Fiancé(e) Visa
Most nonimmigrant visa applicants must complete and submit a separate DS-160 form before scheduling a visa appointment.
Documents Required Before Filling DS-160
Before starting your application, keep the following documents ready:
Valid Passport
You will need:
- Passport number
- Date of issue
- Expiration date
Travel Details
Prepare:
- Proposed travel dates
- Intended U.S. destination
- Accommodation information
Employment Information
Examples:
- Employer details
- Job title
- Work history
Educational Information
Students should keep:
- School details
- University information
- Educational history
Previous Travel Information
Prepare details regarding:
- Previous U.S. visas
- International travel history
- Past visa refusals, if any
Having these documents ready makes completing the form much easier.
Step 1: Visit the Official DS-160 Website
The DS-160 form must be completed online through the Consular Electronic Application Center (CEAC). The U.S. Department of State estimates that the application takes approximately 90 minutes to complete.
Start by selecting:
- Country where you will apply
- Embassy or Consulate location
- Security question
You will receive an Application ID Number.
Important:
Write down your Application ID immediately. It allows you to return and continue your application later.
Step 2: Enter Personal Information
You will be asked for:
- Full name
- Date of birth
- Gender
- Marital status
- Nationality
- Place of birth
Tips:
- Enter information exactly as it appears on your passport.
- Avoid spelling errors.
- Double-check dates carefully.
Small mistakes can create unnecessary delays.
Step 3: Provide Passport Details
Enter information from your passport:
- Passport number
- Country of issuance
- Date of issue
- Expiration date
If you have multiple nationalities or additional passports, you may need to provide those details as well.
Accuracy is extremely important in this section.
Step 4: Enter Travel Information
The DS-160 asks about your travel plans.
You may need to provide:
- Purpose of travel
- Intended arrival date
- Length of stay
- Address where you’ll stay
- Person or organization you’ll visit
If your travel plans are not finalized, estimated dates can usually be entered.
Step 5: Provide Travel Companion Information
You will be asked:
- Are you traveling alone?
- Are you traveling with family?
- Are you part of a tour group?
Provide accurate information regarding your travel companions.
Step 6: Enter Previous U.S. Travel Details
This section asks about:
- Previous visits to the United States
- Previous U.S. visas
- Visa refusals
- U.S. driver’s license information
- Immigration history
Always answer honestly.
The U.S. government has access to previous immigration records, fingerprints, and earlier applications. Providing inaccurate information can negatively affect your case.
Step 7: Enter Address and Phone Information
Provide:
- Home address
- Mailing address
- Phone number
- Email address
Make sure your contact information is current and accurate.
Step 8: Family Information
The form asks for information about:
- Parents
- Spouse
- Children
- Relatives in the United States
You may also need to disclose whether you have immediate family members currently living in the U.S.
Answer all questions honestly.
Step 9: Employment and Education Information
This section requests:
Employment Details
- Employer name
- Address
- Job title
- Monthly income
- Job responsibilities
Educational Information
- School or university details
- Course information
- Previous educational history
The information provided here helps establish your background and purpose of travel.
Step 10: Security and Background Questions
You will answer several security-related questions regarding:
- Criminal history
- Immigration violations
- Communicable diseases
- Drug-related offenses
- Terrorism-related activities
- Previous deportations
Answer every question truthfully.
False information can result in visa refusal and future immigration complications.
Step 11: Upload Your Photograph
Many applicants are required to upload a digital photograph that meets U.S. visa photo specifications.
Requirements generally include:
- White background
- Recent photograph
- Specific dimensions
- Neutral expression
If your photo is rejected online, you may need to bring printed photos to your appointment.
Step 12: Review and Submit
Before submitting:
✔ Review every answer carefully
✔ Verify passport details
✔ Confirm travel information
✔ Check names and dates
✔ Ensure all information is accurate
Once submitted, the DS-160 generally cannot be edited. Major errors may require completing a new application.
Print the DS-160 Confirmation Page
After submission, you’ll receive a confirmation page containing a barcode.
This confirmation page is extremely important.
You must keep it safely because you’ll need it for:
- Visa fee payment
- Scheduling appointments
- Biometrics
- Visa interview
The barcode allows U.S. embassies and consulates to access your application electronically.
Common DS-160 Mistakes to Avoid
Many applicants experience delays because of simple mistakes.
Avoid:
❌ Incorrect passport number
❌ Misspelled names
❌ Wrong date of birth
❌ Inconsistent employment information
❌ Forgetting previous U.S. travel history
❌ Incomplete answers
❌ Incorrect embassy selection
Carefully reviewing your application can save significant time and stress.
Tips for Filling DS-160 Successfully in 2026
Complete the Form Yourself
You should understand everything submitted on your application.
Save Frequently
The system times out after periods of inactivity.
Be Honest
Provide truthful and accurate information.
Keep Documents Ready
Having all documents available makes completion easier.
Double-Check Before Submission
Small errors can create major delays.
Why Professional Visa Guidance Helps
For first-time applicants, the DS-160 can feel overwhelming.
Professional visa consultants can help:
- Review your information
- Identify errors
- Guide document preparation
- Assist with visa appointments
- Help avoid costly mistakes
At US UK EU Visas, we assist applicants with U.S., UK, and Europe visa applications, helping travelers confidently complete the visa process.
Final Thoughts
The DS-160 form is the foundation of your U.S. visa application. Completing it accurately and carefully significantly improves your chances of a smooth application process.
By preparing your documents in advance, entering accurate information, reviewing your answers carefully, and following official instructions, you can complete your DS-160 form confidently in 2026 and move one step closer to your American journey.