Online Nonimmigrant Visa Application (DS-160)
- Online Nonimmigrant Visa Application (DS-160)
-
Author: usukeuvisa
-
20 Mar 2026
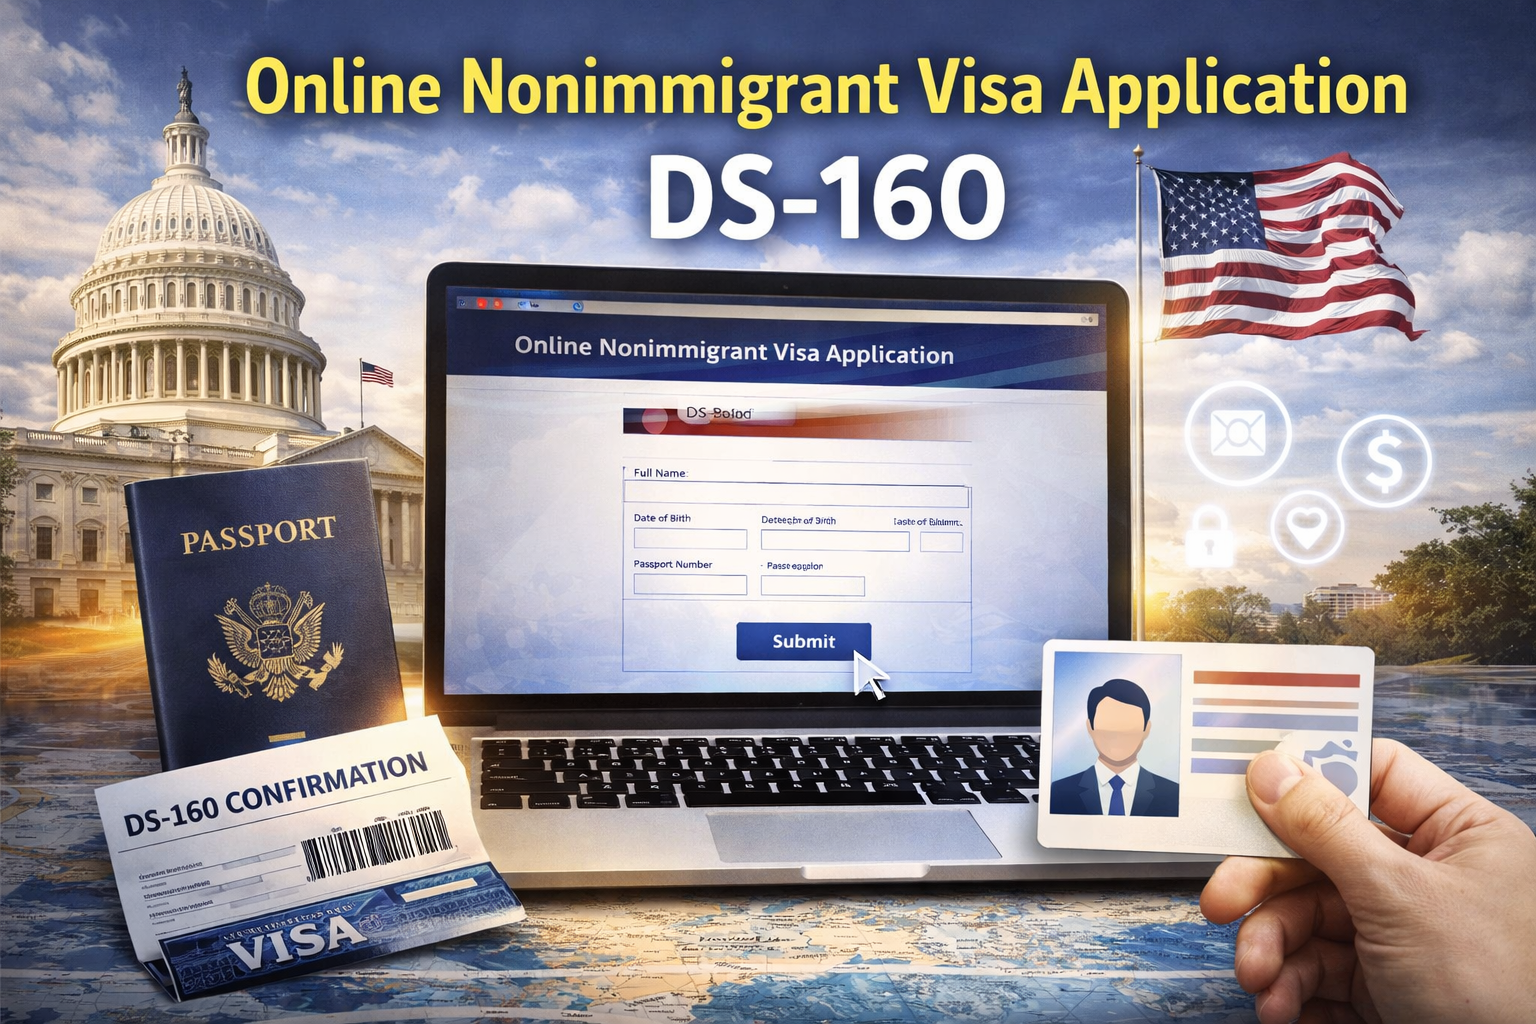
Online Nonimmigrant Visa Application (DS-160)
Applying for a U.S. nonimmigrant visa is a crucial step for travelers, students, and professionals planning to visit the United States temporarily. One of the most important parts of this process is completing the DS-160 form, officially known as the Online Nonimmigrant Visa Application.
In this 2026 guide, we’ll walk you through everything you need to know about the DS-160, including its purpose, how to fill it out, required documents, common mistakes, and expert tips for success.
What is the DS-160 Form?
The DS-160 is an online application form required for most temporary U.S. visas, including:
-
Tourist visa (B1/B2)
-
Student visa (F1)
-
Work visas (H1B, L1, etc.)
-
Exchange visitor visa (J1)
This form collects your personal, travel, educational, and professional details, which are used by U.S. consular officers to assess your eligibility.
Why is the DS-160 Important?
The DS-160 is the foundation of your visa application. Your visa interview is largely based on the information you provide in this form.
Key Reasons It Matters:
-
Determines your visa eligibility
-
Used during your visa interview
-
Helps verify your background and travel intent
-
Errors can lead to delays or rejection
Who Needs to Fill the DS-160?
You must complete the DS-160 if you are applying for any nonimmigrant U.S. visa, including:
-
Tourism or business travel
-
Study in the U.S.
-
Temporary work assignments
-
Cultural exchange programs
Each applicant, including children, must submit a separate DS-160 form.
Information Required for DS-160
Before starting, gather the following information:
Personal Details:
-
Full name
-
Date of birth
-
Passport details
-
Nationality
Travel Information:
-
Purpose of travel
-
Intended travel dates
-
U.S. address
Employment & Education:
-
Current job details
-
Educational background
-
Previous employment history
Security Questions:
-
Criminal history
-
Immigration violations
-
Health-related questions
Step-by-Step Guide to Fill DS-160
Step 1: Access the DS-160 Form
Visit the official U.S. visa application website and select your location (U.S. Embassy/Consulate).
Step 2: Start a New Application
You’ll receive an Application ID—save this carefully, as you’ll need it to retrieve your form later.
Step 3: Fill in Personal Information
Enter your details exactly as they appear on your passport.
Step 4: Provide Travel Details
Specify:
-
Visa type
-
Purpose of visit
-
Travel itinerary
Step 5: Add Work, Education & Background Info
Provide accurate details about your:
-
Employment
-
Education
-
Previous travel history
Step 6: Upload Photograph
Upload a passport-size photo that meets U.S. visa requirements.
Step 7: Review and Submit
Carefully review all information before submitting.
Step 8: Print Confirmation Page
After submission, print the DS-160 confirmation page with barcode. This is required for your visa interview.
DS-160 Processing Time
-
Form completion: 30–90 minutes
-
Submission: Immediate
-
No processing time (used for interview scheduling)
DS-160 Fees
The DS-160 form itself is free, but you must pay the visa application fee separately:
-
Tourist visa (B1/B2): approx. $185
-
Student visa: approx. $185
-
Work visas: varies
Common Mistakes to Avoid
Filling out the DS-160 incorrectly can lead to serious issues.
Avoid These Mistakes:
❌ Incorrect passport details
❌ Spelling errors in name or address
❌ Inconsistent information
❌ Leaving mandatory fields blank
❌ Uploading incorrect photo
Even small errors can delay your application or cause rejection.
Tips for a Successful DS-160 Application
1. Be Accurate
Always provide truthful and consistent information.
2. Double-Check Details
Review every section before submitting.
3. Save Your Progress
The session can expire—save your application regularly.
4. Use Official Guidelines
Follow U.S. visa photo and form requirements carefully.
5. Keep a Copy
Save and print your confirmation page.
Can You Edit DS-160 After Submission?
Once submitted, you cannot edit the DS-160 form.
However:
-
You can submit a new DS-160
-
Use the new confirmation number for your appointment
What Happens After DS-160 Submission?
After completing DS-160:
-
Pay the visa application fee
-
Schedule your visa interview
-
Prepare supporting documents
-
Attend the interview at the U.S. Embassy/Consulate
Documents Required for Visa Interview
Along with your DS-160 confirmation page, you’ll need:
-
Valid passport
-
Visa fee receipt
-
Appointment confirmation
-
Supporting documents (financial, employment, etc.)
Why DS-160 is Crucial for Visa Approval
Consular officers rely heavily on your DS-160 to:
-
Verify your identity
-
Understand your travel purpose
-
Assess your eligibility
A well-prepared DS-160 increases your chances of visa approval.
Final Thoughts
The DS-160 Online Nonimmigrant Visa Application is a critical step in obtaining a U.S. visa. While the process is straightforward, accuracy and attention to detail are essential.
By preparing your information in advance, avoiding common mistakes, and following the correct steps, you can complete your DS-160 smoothly and move forward confidently in your visa journey.
Need Expert Assistance?
At US UK EU Visas, we help applicants complete DS-160 forms accurately and prepare for successful visa interviews. Our experts guide you every step of the way.
👉 Contact us today for hassle-free U.S. visa assistance!