
How to Apply for a US Visa: 7-Step Guide 2026
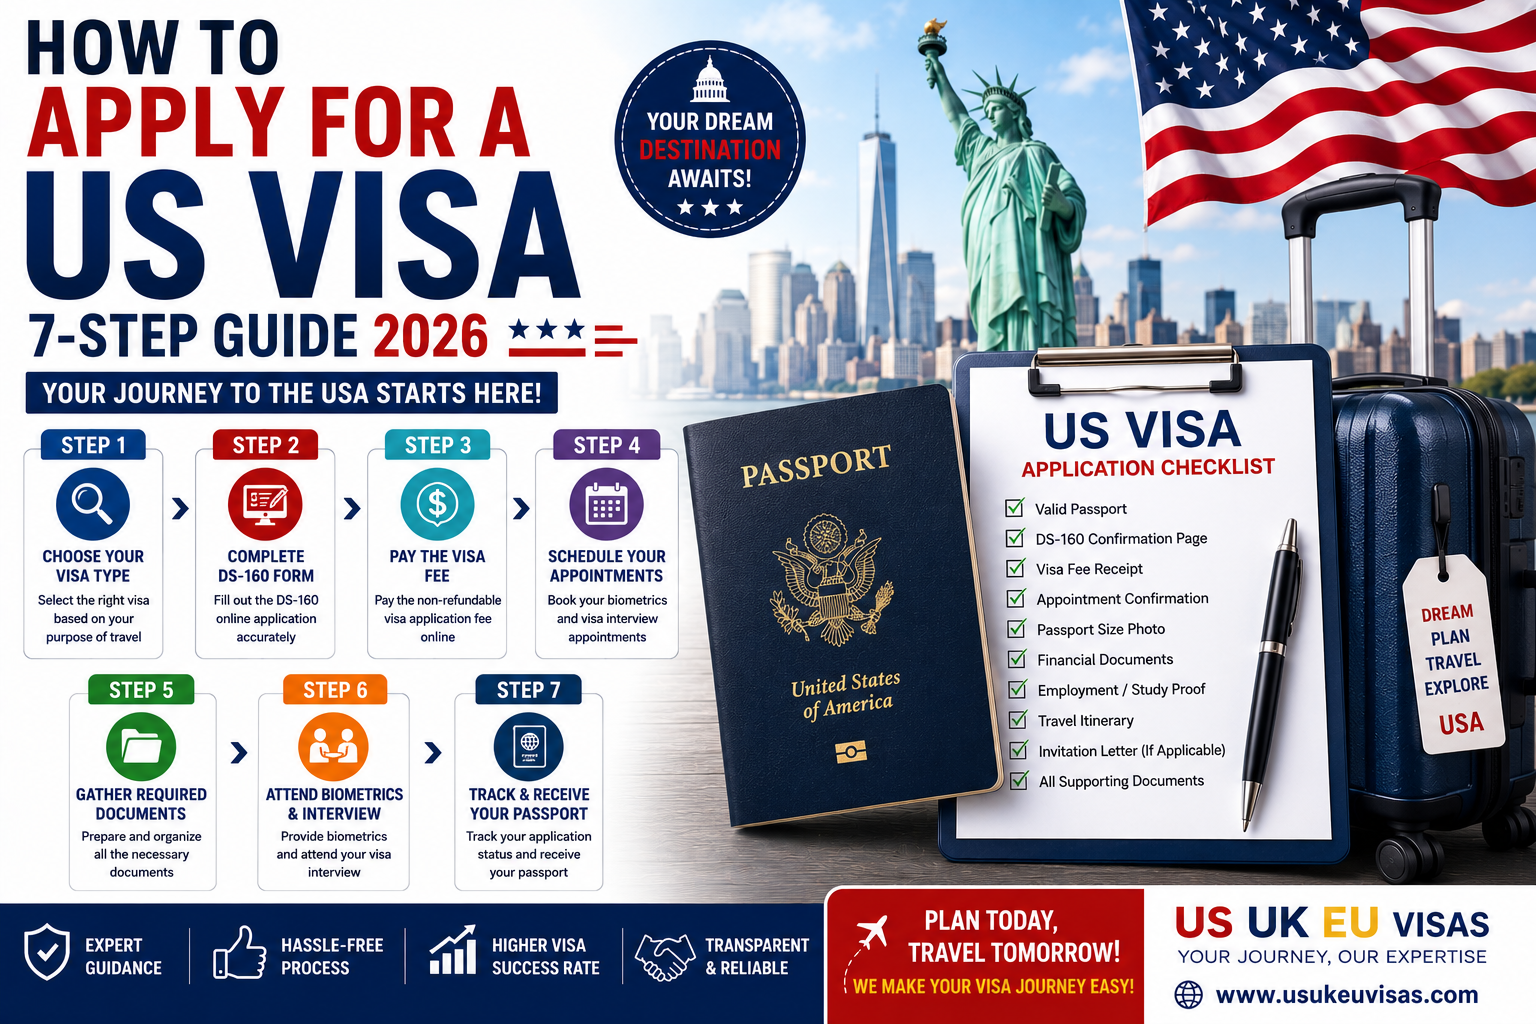
- How to Apply for a US Visa: 7-Step Guide 2026
-
Author: usukeuvisa
-
23 Jun 2026

How to Apply for a US Visa: 7-Step Guide 2026
The United States remains one of the world’s most popular destinations for tourism, higher education, business opportunities, and family visits. Every year, millions of people apply for U.S. visas to explore iconic destinations, pursue academic goals, attend business meetings, or reunite with loved ones.
Although the U.S. visa process may initially seem complicated, it becomes much easier when you understand each step and prepare your documents properly. Whether you’re applying for a tourist visa, student visa, business visa, or work visa, following the correct process can significantly improve your chances of approval.
This 2026 guide explains the U.S. visa application process in seven simple steps to help you prepare confidently.
Step 1: Determine the Right Visa Type
The first step is identifying the correct visa category based on your purpose of travel.
Some common U.S. visa categories include:
B1/B2 Visitor Visa
Suitable for:
- Tourism and vacations
- Visiting family or friends
- Business meetings
- Medical treatment
F-1 Student Visa
Suitable for:
- Academic studies
- University programs
- English language courses
J-1 Exchange Visitor Visa
Suitable for:
- Exchange programs
- Research opportunities
- Training programs
H-1B Work Visa
Suitable for:
- Skilled professionals
- Employment opportunities in specialized occupations
Choosing the correct visa category is essential because every visa has different requirements and eligibility criteria.
Step 2: Complete Form DS-160 Online
The DS-160 Online Nonimmigrant Visa Application is the first official step for most temporary U.S. visa applicants. The form must be completed online through the U.S. Department of State’s Consular Electronic Application Center (CEAC).
You’ll typically need:
- Passport information
- Personal details
- Employment history
- Travel information
- Family information
- Previous travel history
The DS-160 usually takes approximately 90 minutes to complete. After submission, you’ll receive a confirmation page with a barcode that must be printed and kept for your visa appointment.
Before submitting:
- Double-check all information carefully.
- Ensure names match your passport exactly.
- Review dates and travel details.
Errors on the DS-160 can lead to delays or additional processing.
Step 3: Pay the Visa Application Fee
After completing the DS-160, you’ll need to pay the applicable visa fee.
Most non-petition-based nonimmigrant visas, including B1/B2 tourist visas and F-1 student visas, currently have an application fee of approximately US$185.
Always keep:
- Payment confirmation
- Fee receipt
- Transaction reference number
You’ll need this information to schedule your appointments.
Step 4: Schedule Your Visa Appointment
After paying the fee, you can schedule your appointments through the appropriate U.S. visa appointment system.
Many applicants will need:
Biometrics Appointment
This appointment usually includes:
- Fingerprints
- Digital photograph
Visa Interview Appointment
The interview is typically conducted at a U.S. Embassy or Consulate. Applicants generally schedule appointments themselves after completing the DS-160 and paying the visa fee.
Appointment wait times vary depending on:
- Country of application
- Time of year
- Visa category
Applying early is strongly recommended.
Step 5: Gather Required Documents
Supporting documents are a critical part of your U.S. visa application.
Common documents include:
Valid Passport
Your passport should generally remain valid for at least six months beyond your intended stay.
DS-160 Confirmation Page
Bring the printed barcode confirmation page.
Appointment Confirmation Letter
Proof of your scheduled appointment.
Visa Fee Receipt
Evidence that you paid the application fee.
Financial Documents
Examples include:
- Bank statements
- Salary slips
- Income tax returns
- Sponsorship documents
Employment or Education Documents
Examples include:
- Employment letters
- Student enrollment certificates
- Admission letters
- Business registration documents
Travel Information
Examples include:
- Proposed travel itinerary
- Accommodation details
- Invitation letters if applicable
Preparing organized documentation can significantly strengthen your application.
Step 6: Attend Biometrics and Visa Interview
The visa interview is often the most important stage of the application process.
During your interview, a consular officer may ask questions regarding:
- Purpose of travel
- Employment status
- Financial situation
- Family circumstances
- Previous international travel
- Intentions after visiting the United States
Interviews are generally brief, often lasting around 10–15 minutes, depending on the complexity of the case. Applicants should carry their passport, DS-160 confirmation page, appointment letter, and supporting documents.
Tips for a Successful Interview:
- Arrive early.
- Dress professionally.
- Answer honestly and confidently.
- Keep responses clear and concise.
- Carry neatly organized documents.
Remember that visa officers are primarily evaluating whether you qualify under the visa category and whether you intend to comply with U.S. immigration laws.
Step 7: Wait for Visa Processing and Decision
After your interview, your application will undergo processing.
Possible outcomes include:
Visa Approved
Your passport will be retained temporarily for visa stamping.
Administrative Processing
Additional review or documentation may be required.
Visa Refused
The officer will explain the reason for refusal.
Processing times vary depending on:
- Visa type
- Embassy workload
- Additional security checks
You can generally track your application status online after your appointment.
Common Reasons for U.S. Visa Refusal
Applications may be refused due to:
- Incomplete documentation
- Insufficient financial evidence
- Inconsistent information
- Failure to demonstrate strong home-country ties
- Incorrect visa category
- Providing false or misleading information
Careful preparation significantly improves your chances of success.
Tips for a Successful U.S. Visa Application in 2026
Start Early
Begin the process well before your intended travel dates.
Complete DS-160 Carefully
Review every answer thoroughly before submission.
Organize Your Documents
Prepare all supporting evidence clearly and systematically.
Demonstrate Financial Stability
Provide genuine and consistent financial records.
Be Honest
Never submit false information or fake documents.
Seek Professional Guidance
Expert assistance can help simplify complex cases and reduce mistakes.
Final Thoughts
Applying for a U.S. visa in 2026 doesn’t have to be overwhelming. By understanding the seven-step process—choosing the right visa, completing the DS-160, paying fees, scheduling appointments, gathering documents, attending your interview, and tracking your application—you can navigate the process with confidence.
Whether you’re traveling to the United States for tourism, education, business, or family reasons, careful preparation and accurate documentation remain the keys to a successful visa application.